
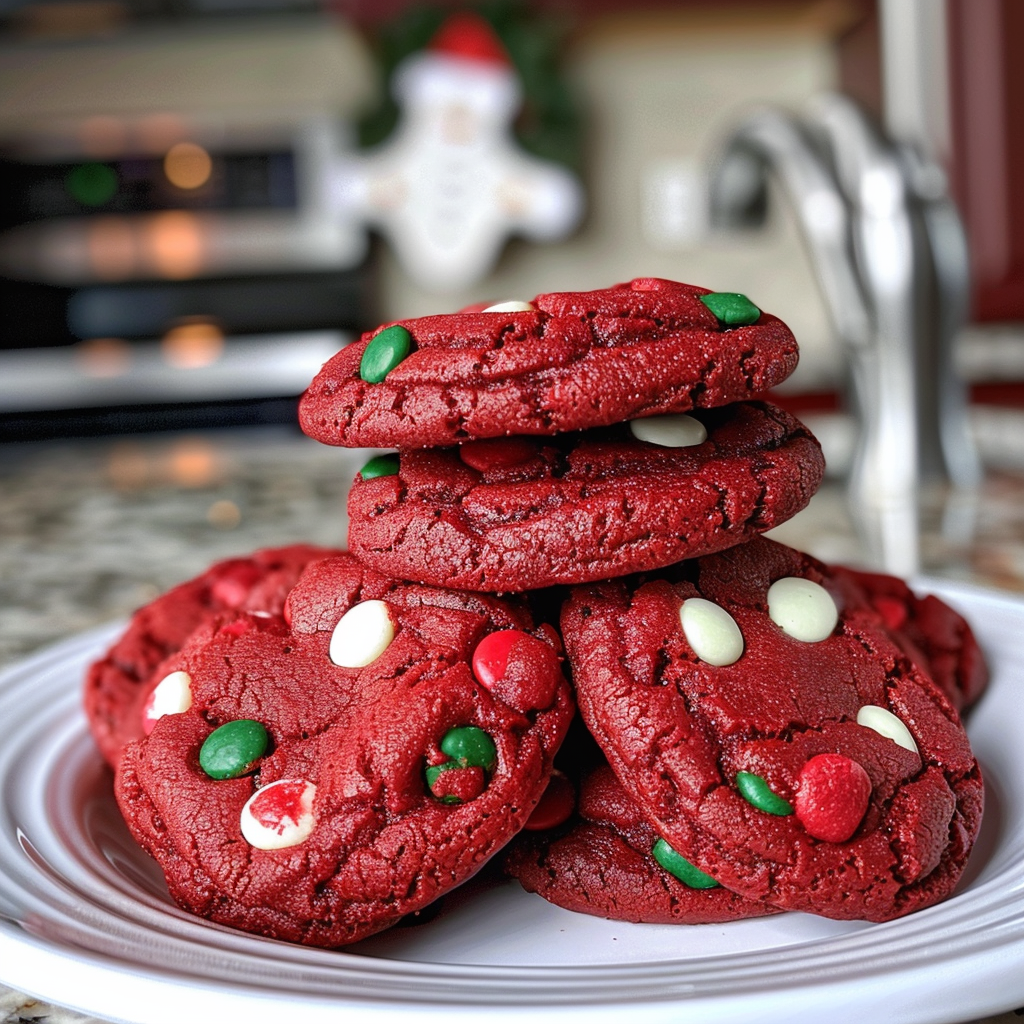
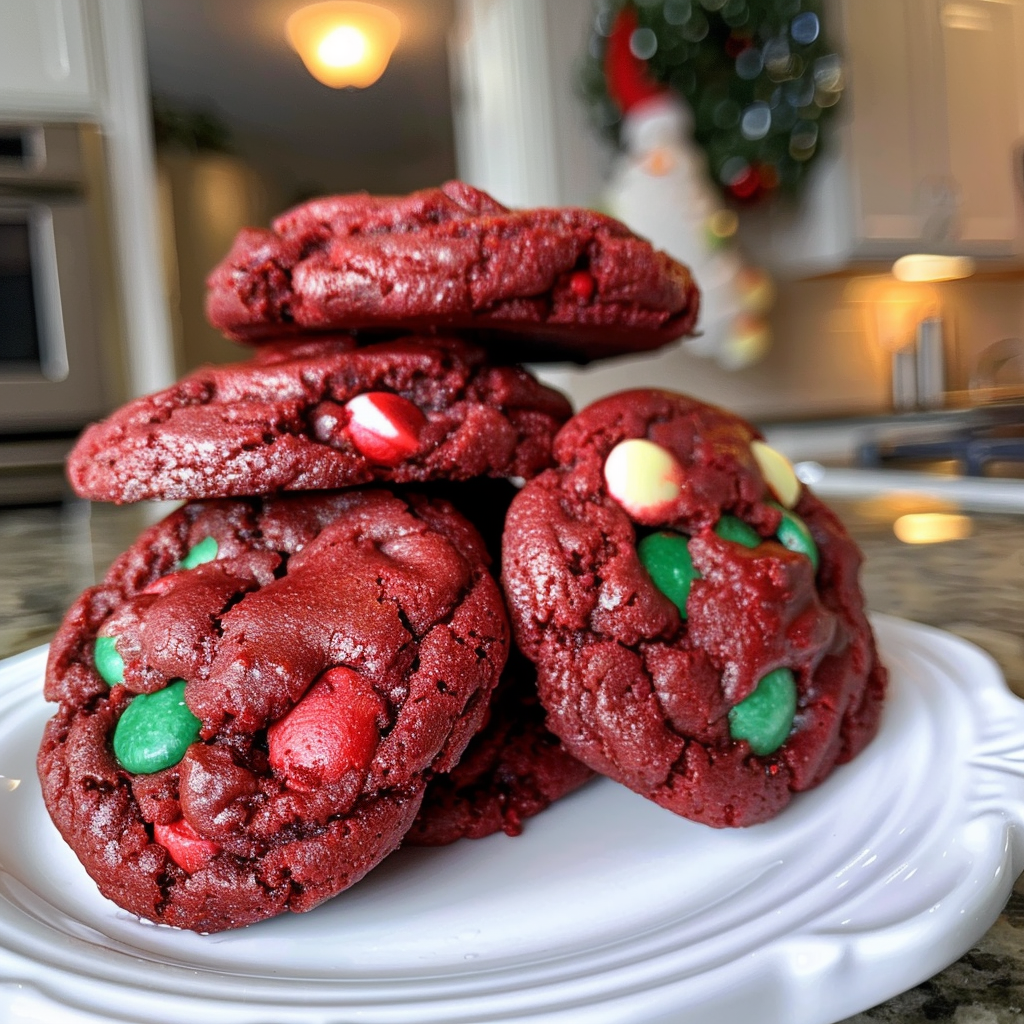
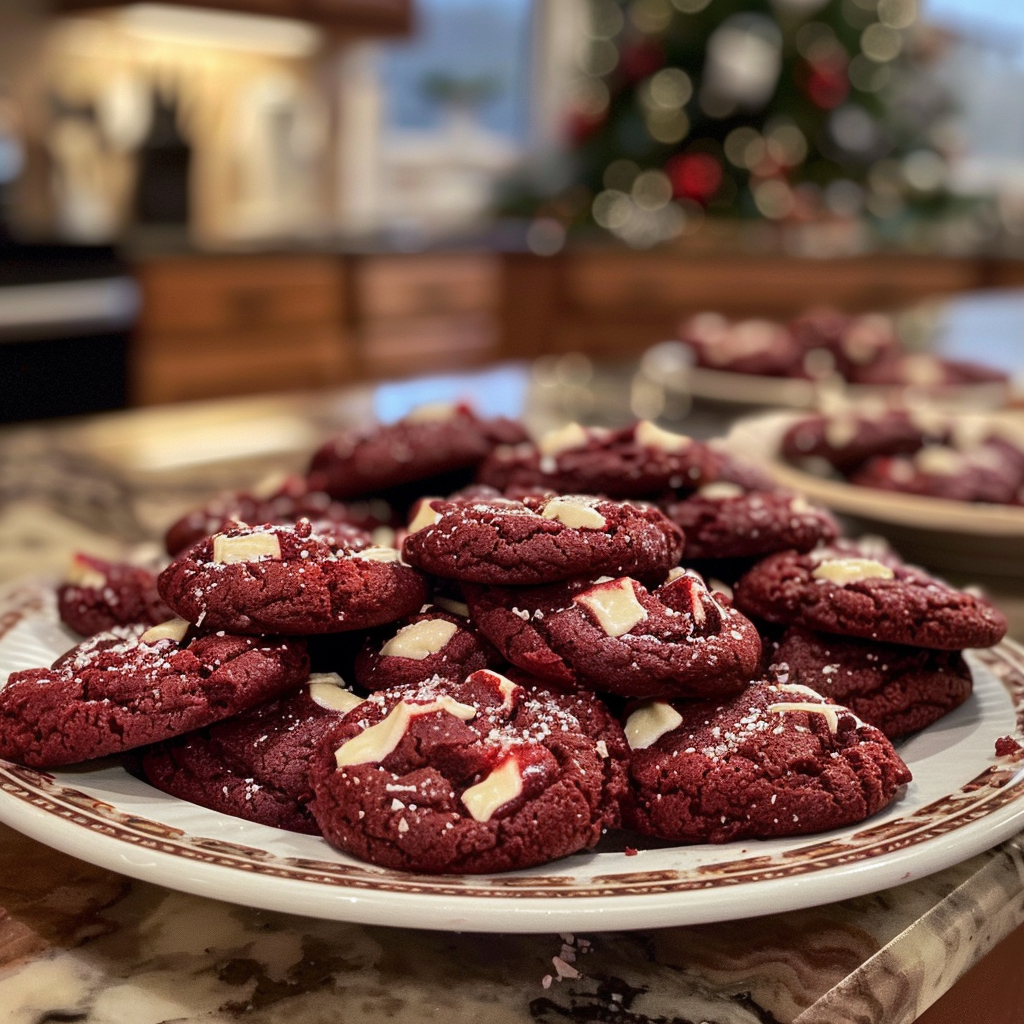
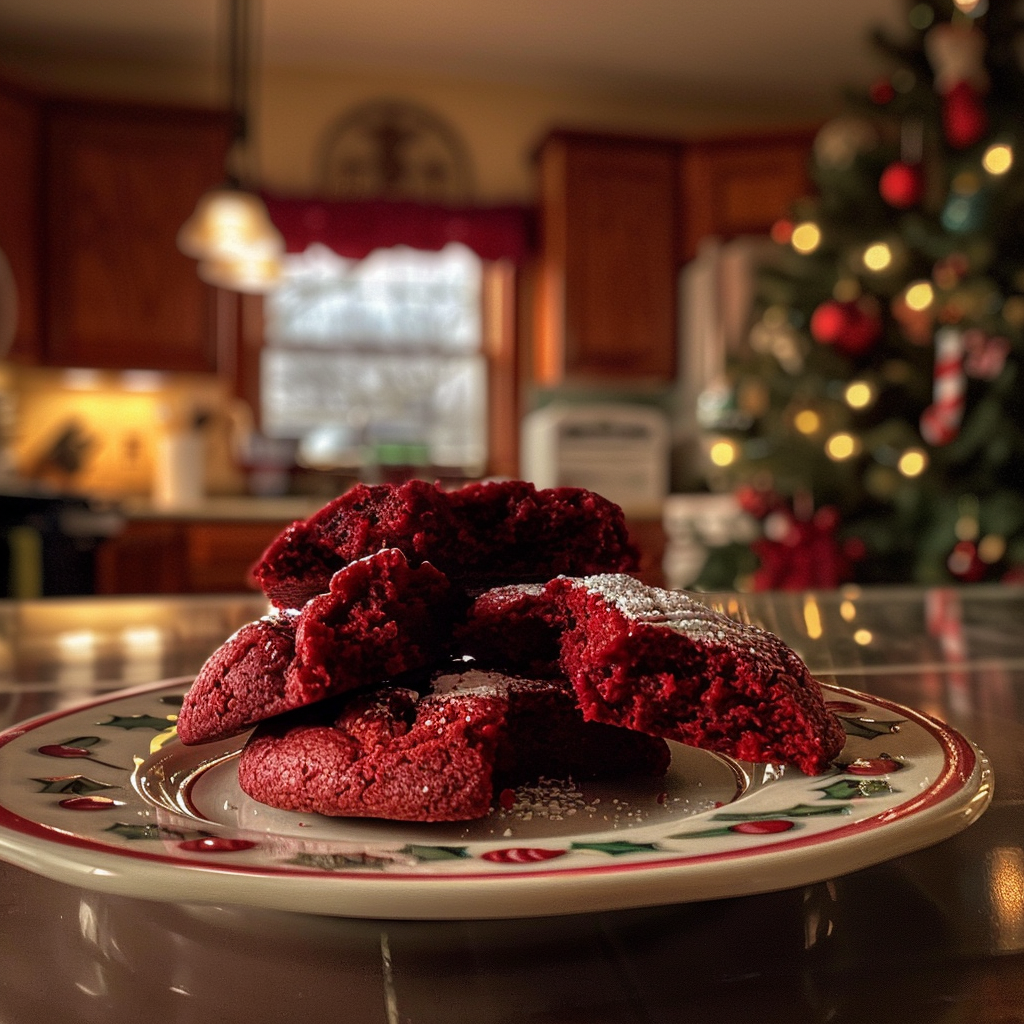
There’s nothing quite like the smell of freshly baked cookies wafting through the house, and when those cookies are Red Velvet Santa’s Cookies, you’re in for a treat! These delightful treats boast a rich crimson hue that not only looks festive but also promises a flavor explosion that dances on your taste buds. delightful cookie variations perfect sweet treat for holidays Imagine biting into a soft, chewy cookie with a hint of cocoa and a sweet cream cheese frosting that’s simply irresistible. creative holiday snacks for kids fun festive treats for gatherings. For more inspiration, check out this Thanksgiving Pumpkin Cupcakes recipe.
Growing up, Christmas meant baking endless batches of cookies with my grandma. Her secret? A dash of love and a sprinkle of mischief. Red Velvet Santa’s Cookies became our holiday staple, leaving everyone eagerly lining up at the kitchen counter, hoping to snag one before they were all gone. Perfect for cookie exchanges or those cozy nights by the fire, these cookies bring joy to any occasion!
Why You'll Love This Recipe
- This recipe is super simple, making holiday baking enjoyable rather than stressful
- The vibrant red color adds a festive touch to your dessert table
- Each bite offers a delightful blend of flavors and textures that will have everyone coming back for more
- They’re perfect for sharing or indulging yourself—no judgment here!
Baking these cookies with my family always brought laughter and love. The moment someone took a bite, their eyes lit up with delight.
Essential Ingredients
Here’s what you’ll need to make this delicious dish:
-
All-Purpose Flour: Use high-quality flour for the best texture; it helps create that perfect cookie crumb.
-
Cocoa Powder: Opt for unsweetened cocoa powder to balance the sweetness; it adds depth without overpowering.
-
Sugar: Both granulated and brown sugar are essential; brown sugar adds moisture and chewiness.
-
Butter: Use unsalted butter, softened to room temperature; it blends beautifully with sugars for that creamy texture.
-
Eggs: Fresh eggs help bind everything together; I always use large eggs for consistent results.
-
Red Food Coloring: Gel food coloring works best; it gives that striking red hue without altering consistency.
-
Baking Soda & Baking Powder: These leavening agents ensure your cookies rise perfectly; don’t skip them!
-
Vanilla Extract: Pure vanilla extract enhances flavor; it’s like adding a warm hug in cookie form.
-
Cream Cheese Frosting: Whip up some homemade frosting to top these beauties; it’s what makes them truly divine!
The full ingredients list, including measurements, is provided in the recipe card directly below.
Let’s Make it together
Preheat Your Oven: Begin by preheating your oven to 350°F (175°C). Line your baking sheets with parchment paper so they’re ready for action.
Mix Dry Ingredients: In a bowl, whisk together all-purpose flour, cocoa powder, baking soda, and baking powder until well combined. This step ensures even distribution of ingredients.
Cream Butter and Sugars: In another bowl, beat softened butter with granulated and brown sugars until light and fluffy. This process usually takes about 3-4 minutes—patience is key!
Add Eggs and Vanilla: Incorporate eggs one at a time along with vanilla extract into the butter mixture. Beat until smooth; you want everything well blended and creamy.
Add Color and Combine: Mix in the red food coloring until fully incorporated. Gradually add the dry ingredients into the wet mixture until just combined—avoid overmixing to keep those cookies tender!
Scoop and Bake: Use a cookie scoop or spoon to drop dough onto prepared baking sheets, spacing them about 2 inches apart. Bake in your preheated oven for 10-12 minutes or until edges are set.
Cool and Frost: Allow cookies to cool on baking sheets for 5 minutes before transferring them to wire racks. Once cooled completely, generously frost each cookie with cream cheese frosting.
Now go ahead and savor those Red Velvet Santa’s Cookies! Enjoy every bite surrounded by loved ones or while binge-watching your favorite holiday movies—who says you can’t have both?
You Must Know
- Red Velvet Santa’s Cookies are not just festive; they are a delightful treat that combines the rich flavor of cocoa with a hint of vanilla
- The vibrant red color makes them visually appealing, perfect for holiday gatherings
- Bake them with love and watch smiles appear!
Perfecting the Cooking Process
To achieve cookie perfection, start by creaming butter and sugar until fluffy. Next, add eggs and vanilla before mixing in dry ingredients for a smooth dough.
Add Your Touch
Feel free to swap out buttermilk for yogurt or add white chocolate chips for an extra sweet twist. Experimenting can yield delightful surprises!
Storing & Reheating
Store your cookies in an airtight container at room temperature for up to one week. Reheat in the microwave for a few seconds to restore warmth and softness.
Chef's Helpful Tips
- For perfectly chewy cookies, avoid overmixing the dough after adding flour
- Use high-quality cocoa powder to enhance flavor
- Chilling the dough helps prevent spreading during baking, resulting in thicker cookies
Baking Red Velvet Santa’s Cookies reminds me of the time I made them for a neighborhood holiday party. The laughter and joy they brought were priceless! For more inspiration, check out this Pistachio Raspberry Cheesecake recipe.
FAQ
What makes Red Velvet Santa’s Cookies unique?
They combine rich cocoa flavor with a striking red color, creating a festive treat.
Can I freeze Red Velvet Santa’s Cookies?
Absolutely! Freeze them in an airtight container for up to three months.
How do I know when my cookies are done baking?
The edges should be set while the center remains slightly soft; they’ll firm up as they cool.

Red Velvet Santa’s Cookies
- Total Time: 27 minutes
- Yield: About 24 cookies 1x
Description
Red Velvet Santa’s Cookies are a festive delight that combines the rich taste of cocoa with a striking red hue, making them perfect for holiday gatherings. Topped with creamy frosting, each soft and chewy bite is sure to bring joy to your celebrations. Whether you’re sharing them at a cookie exchange or enjoying them by the fire, these cookies will become a cherished tradition.
Ingredients
- 2 ½ cups all-purpose flour
- 2 tbsp unsweetened cocoa powder
- 1 cup granulated sugar
- ½ cup brown sugar, packed
- ¾ cup unsalted butter, softened
- 2 large eggs
- 1 tbsp red gel food coloring
- 1 tsp vanilla extract
- 1 tsp baking soda
- ½ tsp baking powder
- ¼ tsp salt
- Cream cheese frosting (for topping)
Instructions
- Preheat your oven to 350°F (175°C) and line baking sheets with parchment paper.
- In a bowl, whisk together flour, cocoa powder, baking soda, baking powder, and salt.
- In another bowl, beat softened butter with granulated and brown sugars until light and fluffy (about 3-4 minutes).
- Add eggs one at a time and vanilla extract to the butter mixture; mix until smooth.
- Stir in red food coloring until fully incorporated.
- Gradually add dry ingredients to the wet mixture until just combined.
- Use a cookie scoop to place dough on prepared baking sheets about 2 inches apart.
- Bake for 10-12 minutes or until edges are set. Cool on racks before frosting.
- Prep Time: 15 minutes
- Cook Time: 12 minutes
- Category: Dessert
- Method: Baking
- Cuisine: American
Nutrition
- Serving Size: 1 serving
- Calories: 170
- Sugar: 12g
- Sodium: 90mg
- Fat: 8g
- Saturated Fat: 5g
- Unsaturated Fat: 3g
- Trans Fat: 0g
- Carbohydrates: 23g
- Fiber: <1g
- Protein: 2g
- Cholesterol: 30mg


Leave a Comment