

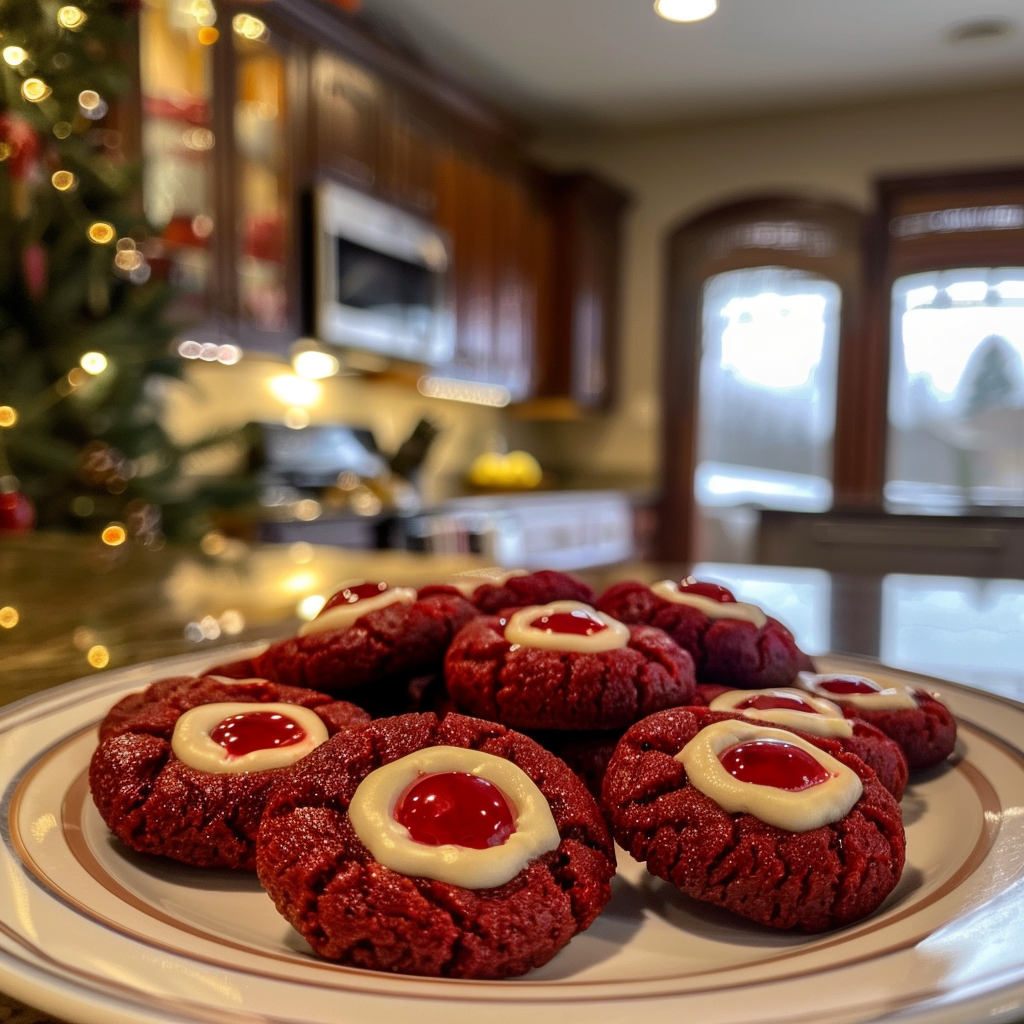
There’s something magical about Red Velvet Thumbprint Cookies: The Secret to Soft, Chewy Bites. Picture this: a soft, velvety cookie with a rich cocoa flavor that melts in your mouth, topped with a luscious dollop of frosting or jam. Delicious red velvet blossoms You’ll find yourself transported to a land of sweet indulgence with each bite, where the aroma fills your kitchen and makes your heart sing.
Every time I bake these cookies, I can’t help but think of my Aunt Betty’s kitchen during the holidays. It was always filled with laughter and the mouthwatering scent of baked goods. These cookies were her specialty, bringing the family together and sparking joy—one chewy bite at a time! They are perfect for any occasion, whether it’s a birthday party or just because you deserve a treat. For more inspiration, check out this pistachio raspberry cheesecake recipe.
Why You'll Love This Recipe
- These Red Velvet Thumbprint Cookies are easy to whip up and require minimal prep time
- Their rich flavor profile balances sweetness with just a hint of chocolate
- Visually stunning, they add a pop of color to any dessert spread
- Plus, they are incredibly versatile; fill them with your favorite jams or frostings for added fun!
I remember making these cookies for my friend’s birthday party, and everyone went back for seconds—proof that they are an absolute crowd-pleaser!
Essential Ingredients
Here’s what you’ll need to make this delicious dish:
-
All-Purpose Flour: The foundation of our cookies; ensure it’s measured accurately for the best texture.
-
Cocoa Powder: Use high-quality cocoa powder for that rich chocolate flavor that pairs perfectly with the red velvet. Rich chocolate-covered strawberries.
-
Sugar: Granulated sugar adds sweetness and helps create that melt-in-your-mouth texture.
-
Baking Soda: Essential for leavening; it helps the cookies rise perfectly while keeping them soft.
-
Salt: A pinch balances the sweetness and enhances the overall flavor profile.
-
Butter: Softened butter is key to creating a rich and chewy cookie base.
-
Egg: One large egg binds everything together and adds moisture for that chewy goodness.
-
Vanilla Extract: Adds depth and warmth to the flavor; don’t skip this one!
-
Red Food Coloring: This gives our cookies their iconic color; use gel food coloring for more vibrant results.
-
Jam or Frosting (for filling): Choose your favorite flavor—raspberry jam or cream cheese frosting work wonders!
The full ingredients list, including measurements, is provided in the recipe card directly below.
Let’s Make it Together
Prepare Your Oven and Baking Sheet: Preheat your oven to 350°F (175°C). Line two baking sheets with parchment paper for easy cleanup later on.
Mix Dry Ingredients Together: In a bowl, whisk together flour, cocoa powder, baking soda, and salt until well combined. This ensures even distribution of ingredients throughout the dough.
Cream Butter and Sugar: In another bowl, beat softened butter and sugar together until light and fluffy. You’ll know it’s ready when it looks like clouds in a sunny sky!
Add Wet Ingredients to Mixture: Stir in the egg, vanilla extract, and red food coloring until fully incorporated. The color should be vibrant; after all, we want these cookies to be eye-catching!
Combine Wet and Dry Mixtures: Gradually add dry ingredients into wet ingredients. Mix until just combined to avoid overworking the dough; we want those chewy bites!
Scoop Dough onto Baking Sheets: Use a tablespoon or cookie scoop to drop rounded balls of dough onto prepared baking sheets. Leave space between them as they will spread while baking.
Create Thumbprints in Cookies: With your thumb or finger, gently press down in the center of each cookie ball to create an indent for filling later on.
Bake Until Perfectly Softened: Bake in preheated oven for 10-12 minutes until edges are set but centers look slightly underbaked. Remove from oven—don’t worry; they’ll firm up as they cool!
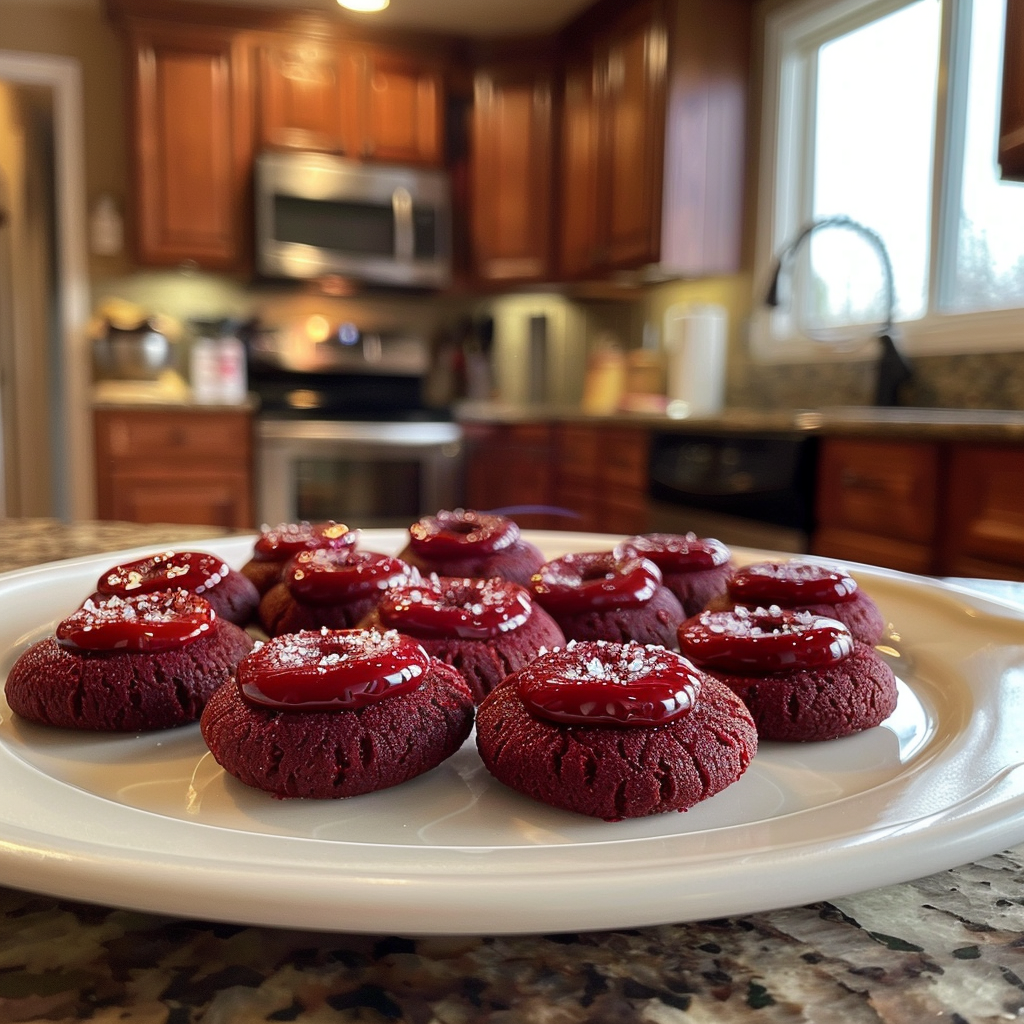
Add Your Favorite Filling : Once cooled slightly, fill each thumbprint with jam or frosting of choice. Allow them to set before indulging in these delicious treats.
Now you’re ready to enjoy your Red Velvet Thumbprint Cookies: The Secret to Soft, Chewy Bites! Each bite is sure to delight friends and family alike—happy baking! Festive red velvet Santas cookies. Another red velvet cookie option.
You Must Know
- Red Velvet Thumbprint Cookies are not just beautiful; they’re soft, chewy bites that melt in your mouth
- The rich cocoa flavor combined with a sweet filling creates a delightful treat for any occasion
- Don’t be surprised if they disappear in moments!
Perfecting the Cooking Process
Start by preheating your oven, then mix the dough while it cools. Scoop and shape the cookies before chilling them for better texture.
Add Your Touch
Feel free to swap out the jam fillings or add nuts for extra crunch. A sprinkle of sea salt can elevate the flavors wonderfully.
Storing & Reheating
Store cookies in an airtight container at room temperature to keep them fresh. Reheat briefly in the microwave to regain softness.
Chef's Helpful Tips
- To achieve perfect red velvet thumbprint cookies, ensure your butter is softened but not melted
- This helps maintain the right texture and prevents spreading during baking
- Don’t skip chilling the dough; it makes shaping easier and improves flavor development
Baking these cookies reminds me of my grandmother’s kitchen filled with laughter and love. Each bite takes me back to those cherished moments.
FAQ
What gives red velvet cookies their color?
Red velvet cookies get their vibrant color from cocoa powder and sometimes food coloring.
Can I use different fillings for thumbprint cookies?
Absolutely! Try chocolate ganache or caramel for a delicious twist on traditional jam.
How long do these cookies stay fresh?
These cookies can last up to a week if stored properly in an airtight container.

Red Velvet Thumbprint Cookies
- Total Time: 32 minutes
- Yield: Makes approximately 24 cookies 1x
Description
Red Velvet Thumbprint Cookies are a delightful treat featuring soft, chewy bites infused with rich cocoa flavor and vibrant red color. Topped with your choice of frosting or jam, these cookies are perfect for any occasion, bringing joy to family gatherings and celebrations. With their beautiful appearance and melt-in-your-mouth texture, they’re sure to impress both friends and family alike.
Ingredients
- 2 cups all-purpose flour
- 2 tablespoons unsweetened cocoa powder
- 1 cup granulated sugar
- 1 teaspoon baking soda
- 1/2 teaspoon salt
- 1/2 cup softened butter (1 stick)
- 1 large egg
- 2 teaspoons vanilla extract
- 1 tablespoon red food coloring (gel recommended)
- Jam or frosting for filling
Instructions
- Preheat oven to 350°F (175°C) and line two baking sheets with parchment paper.
- In a bowl, whisk together flour, cocoa powder, baking soda, and salt.
- In another bowl, cream together softened butter and sugar until light and fluffy.
- Mix in egg, vanilla extract, and red food coloring until well combined.
- Gradually fold dry ingredients into the wet mixture until just combined.
- Scoop rounded balls of dough onto prepared baking sheets, leaving space in between. Create an indent in each ball using your thumb.
- Bake for 10-12 minutes until edges are set but centers are slightly underbaked. Allow cooling before filling with jam or frosting.
- Prep Time: 20 minutes
- Cook Time: 12 minutes
- Category: Dessert
- Method: Baking
- Cuisine: American
Nutrition
- Serving Size: 1 serving
- Calories: 120
- Sugar: 10g
- Sodium: 80mg
- Fat: 5g
- Saturated Fat: 3g
- Unsaturated Fat: 2g
- Trans Fat: 0g
- Carbohydrates: 17g
- Fiber: <1g
- Protein: 1g
- Cholesterol: 15mg


Leave a Comment