

There’s something magical about creating Homemade Easter Eggs, isn’t there? The moment you crack open that colorful shell, the sweet aroma wafts through the air, making your taste buds dance with delight. The rich chocolate melts on your tongue, leaving behind a delightful sweetness that whispers of springtime joy. chocolate bunny cake Imagine sitting around the table with family, laughter echoing as you unveil your colorful creations – it’s an experience that wraps you in nostalgia while making new memories.
Growing up, Easter was a big deal in our household. My mom would turn the kitchen into a candy factory, and we’d spend hours decorating our eggs with wild designs. One year, I even attempted to create an egg covered in glitter. Spoiler alert: it didn’t taste quite as good as it looked! But those moments filled with laughter and creativity made Easter special. arugula tomato cheese pizza lemon blueberry cheesecake Homemade Easter Eggs are perfect for any celebration or just because you want something sweet!
Why You'll Love This Recipe
- These Homemade Easter Eggs are easy to prepare and packed with flavor that will make everyone smile
- You can customize them with various fillings to suit your preferences
- The vibrant colors and unique designs bring joy to any holiday table
- Perfect for sharing or indulging on your own, these eggs are versatile treats for everyone
I remember the first time we tried making these eggs from scratch; my friends were amazed at how delicious they turned out.
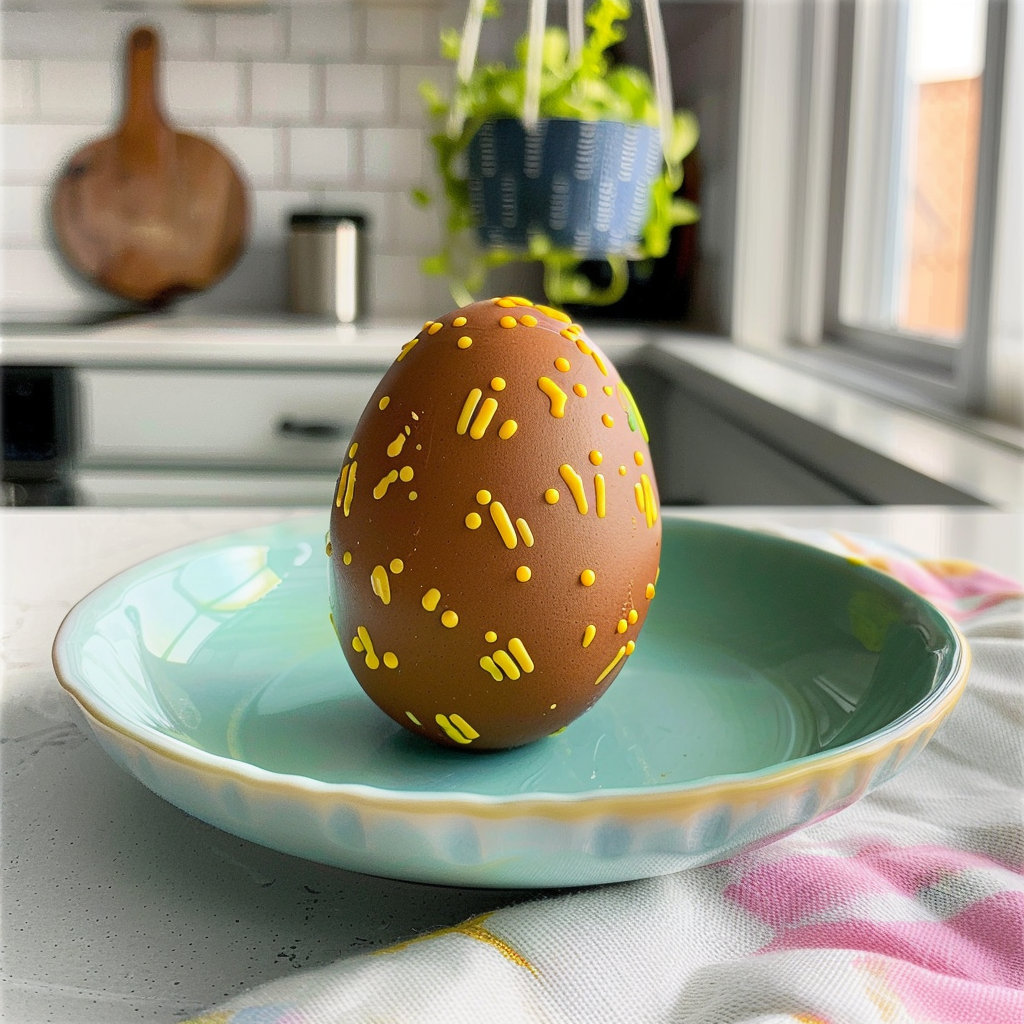
Essential Ingredients
Here’s what you’ll need to make this delightful treat:
-
Chocolate Chips: Choose high-quality chocolate chips for a rich flavor; dark chocolate adds an elegant touch.
-
Heavy Cream: Use fresh heavy cream to create a smooth ganache filling that melts in your mouth.
-
Butter: Unsalted butter enhances the flavor of the chocolate without adding unnecessary saltiness.
-
Food Coloring: Gel food coloring works best for vibrant colors when decorating your eggs.
-
Confectioners’ Sugar: This is essential if you decide to make sweet fillings like peanut butter or coconut cream.
-
Nuts or Dried Fruit: Optional ingredients add texture and extra flavors; choose your favorites for personalization. refreshing fruit salad.
The full ingredients list, including measurements, is provided in the recipe card directly below.
Let’s Make it together
Prepare Your Chocolate Mixture: Start by melting 2 cups of chocolate chips in a microwave-safe bowl at 30-second intervals until smooth. Stir well after each interval to avoid burning.
Create Your Egg Molds: Using a silicone mold (or even an egg carton), pour a thin layer of melted chocolate into each egg cavity. Use a spoon to coat the sides evenly and create space for the filling.
Chill and Set: Place the filled molds in the refrigerator for about 15 minutes or until the chocolate hardens completely. This step ensures your eggs hold their shape during filling.
Make Your Filling: In another bowl, mix 1 cup of heavy cream and ½ cup of confectioners’ sugar until smooth. You can also add flavors like vanilla extract or peanut butter for variety.
Fill Your Eggs: Once hardened, remove the chocolate shells from molds gently. Fill each half with your creamy mixture before sealing them back together with more melted chocolate.
Decorate and Enjoy!: After letting them chill again for about 10-15 minutes, unleash your inner artist! Use melted chocolate or food coloring to decorate your eggs creatively before serving them up at your Easter gathering.
Now that you’ve created these Homemade Easter Eggs, get ready for smiles all around! Remember to embrace each step with joy; it’s not just about delicious treats but also about sharing love and laughter along the way. Happy crafting!
You Must Know
- Homemade Easter Eggs are a delightful treat that can be personalized for all ages
- The process is simple, and the vibrant colors and sweet fillings will brighten any spring celebration
- Make them ahead of time to enjoy with family or as gifts
Perfecting the Cooking Process
To create your Homemade Easter Eggs, start by melting the chocolate first, then prepare your fillings while it cools slightly. This keeps everything organized and ensures a seamless assembly process.
Add Your Touch
Feel free to switch up the chocolate types or fillings! Try dark chocolate with raspberry, or white chocolate with crunchies for an exciting twist on classic flavors. For more inspiration, check out this pistachio raspberry cheesecake recipe.
Storing & Reheating
Store your Homemade Easter Eggs in an airtight container at room temperature for up to two weeks. If you need to reheat or melt again, do it slowly in a microwave on low power.
Chef's Helpful Tips
- For the best results, temper your chocolate before dipping
- This adds shine and snap!
- Use silicone molds for easy release
- Remember to let them cool completely before packaging or serving
Creating these Homemade Easter Eggs reminds me of the time my kids turned our kitchen into a mini chocolate factory. The laughter and chaos made it all worthwhile! For more inspiration, check out this stuffed mini pumpkins recipe recipe.
FAQ
What type of chocolate is best for Homemade Easter Eggs?
Use high-quality chocolate for better flavor and texture in your eggs.
Can I make these eggs dairy-free?
Yes, use dairy-free chocolate and adjust fillings accordingly for a dairy-free version.
How do I decorate my Homemade Easter Eggs?
Use edible glitter, sprinkles, or colored icing to add a festive touch!
Homemade Easter Eggs
- Total Time: 45 minutes
- Yield: Approximately 12 servings 1x
Description
Homemade Easter Eggs are a delightful treat that bring joy to any celebration. These colorful, chocolate-coated confections can be customized with your favorite fillings, making them perfect for sharing with family or indulging on your own. The process is simple and fun, allowing for creativity while creating sweet memories. Get ready to impress your loved ones with these delicious homemade eggs that capture the essence of springtime cheer!
Ingredients
- 2 cups chocolate chips (dark or milk)
- 1 cup heavy cream
- ½ cup confectioners' sugar
- ½ cup unsalted butter
- Gel food coloring (for decoration)
- Optional: nuts or dried fruit for filling
Instructions
- Melt chocolate chips in a microwave-safe bowl at 30-second intervals until smooth. Stir well after each interval.
- Pour a thin layer of melted chocolate into egg molds, coating the sides evenly. Chill in the refrigerator for about 15 minutes until hardened.
- In another bowl, mix heavy cream and confectioners' sugar until smooth; add flavors if desired.
- Remove chocolate shells from molds and fill each half with the creamy mixture. Seal with more melted chocolate.
- Chill again for 10-15 minutes, then decorate as desired using melted chocolate or food coloring.
- Prep Time: 30 minutes
- Cook Time: 15 minutes
- Category: Dessert
- Method: No-Bake
- Cuisine: American
Nutrition
- Serving Size: 1 egg (45g)
- Calories: 180
- Sugar: 12g
- Sodium: 25mg
- Fat: 12g
- Saturated Fat: 7g
- Unsaturated Fat: 4g
- Trans Fat: 0g
- Carbohydrates: 16g
- Fiber: 1g
- Protein: 2g
- Cholesterol: 20mg
Leave a Comment