
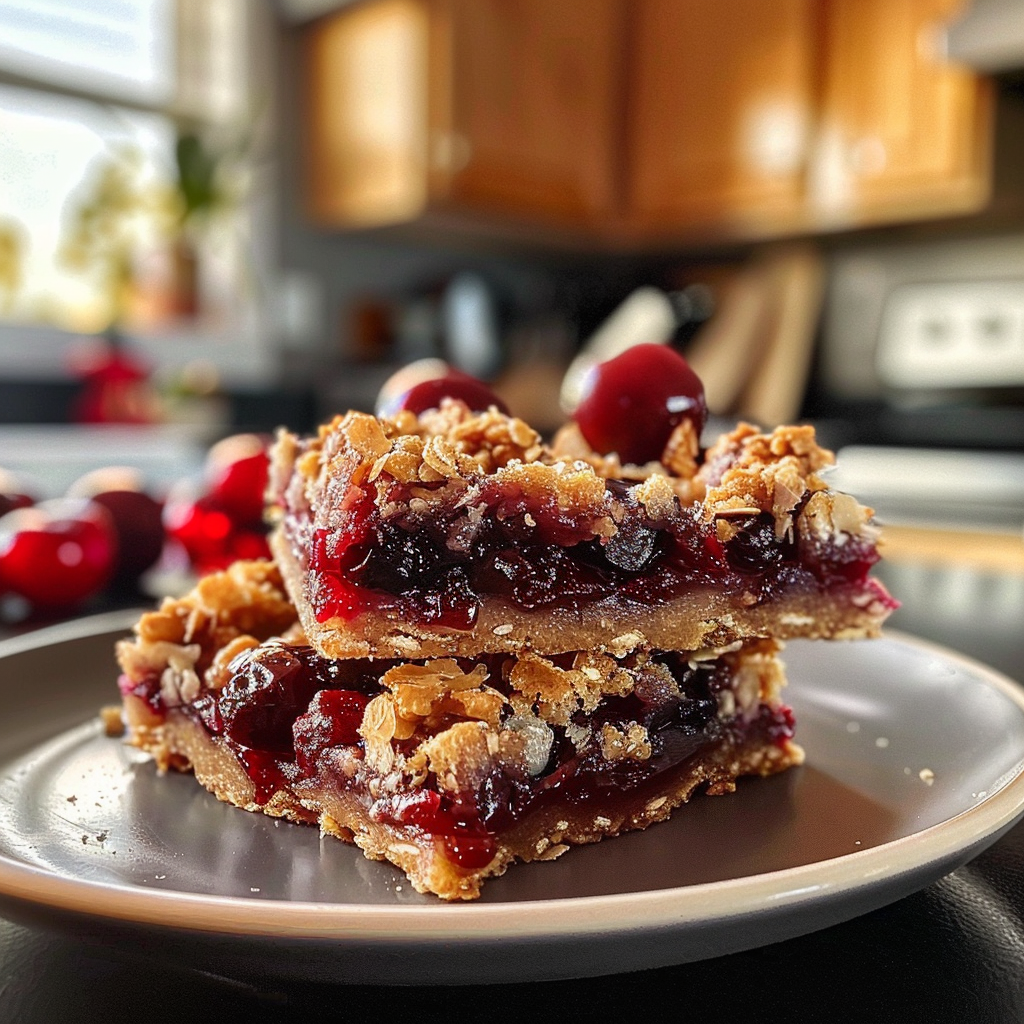
The festive season is here, and nothing screams holiday cheer quite like Christmas Cherry Bars: A Festive Holiday Treat. Imagine biting into a soft, buttery crust topped with a vibrant layer of sweet cherries that burst with flavor. tasty Christmas cranberry sauce The warm aroma wafts through your home, making it impossible to resist going back for seconds—or thirds!
Every year, my family gathers around the kitchen table, eagerly anticipating the moment I unveil these cherry delights. They never fail to spark laughter and joy as we reminisce about past holidays while indulging in these sweet treats. Trust me, the anticipation is almost as delightful as devouring them! For more inspiration, check out this Thanksgiving Pumpkin Cupcakes recipe.
Why You'll Love This Recipe
- These Christmas Cherry Bars are a breeze to prepare, allowing you to enjoy more time with loved ones
- Their rich cherry flavor and buttery crust make them irresistible
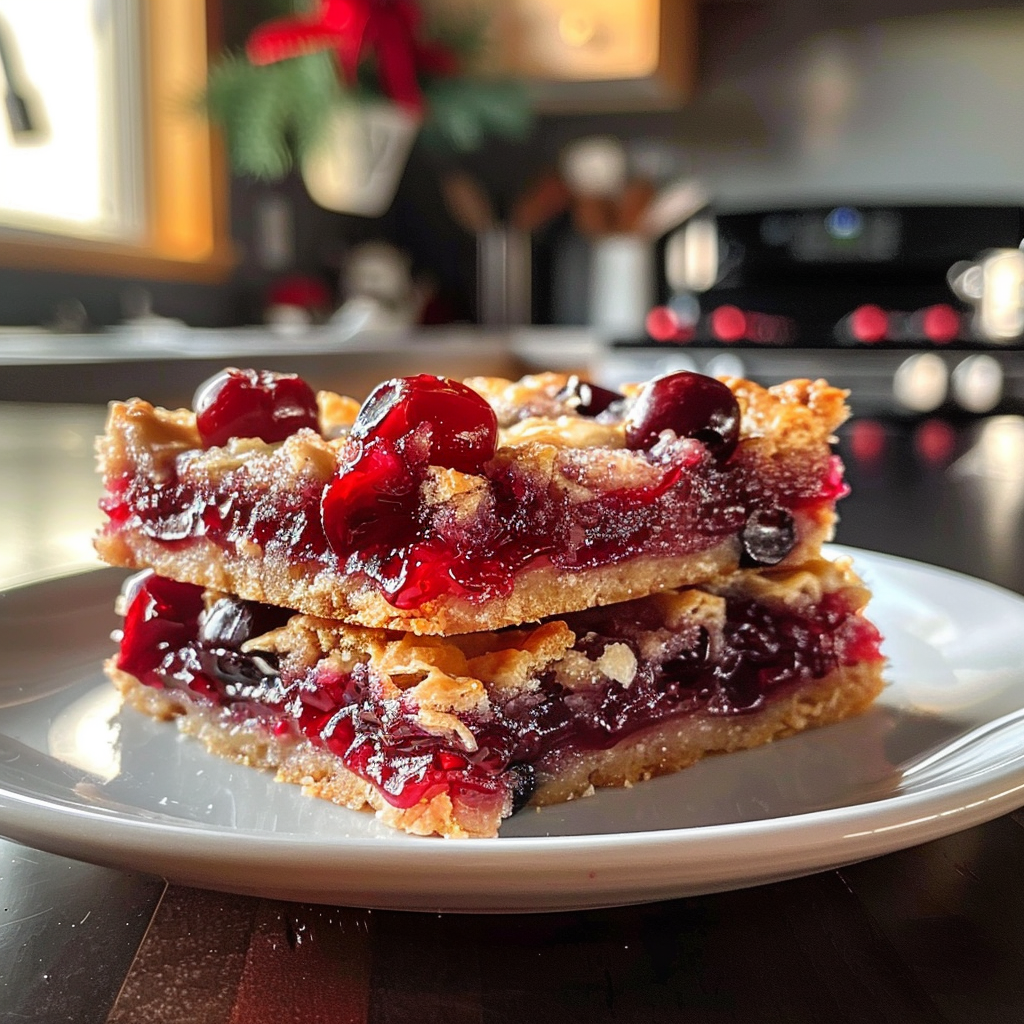
- Visually stunning with their vibrant colors, they’ll be the star of any dessert table
- Perfect as a holiday treat or an everyday snack when you need a little cheer!
I remember one particular Christmas when my cousin mistook these cherry bars for brownies, leading to a hilarious debate over which was better. Spoiler alert: they both got devoured!
Essential Ingredients
Here’s what you’ll need to make this delicious dish: delicious candy cane cookies. festive pink velvet cookies.
-
All-Purpose Flour: A must-have for the buttery crust; opt for unbleached flour for a richer flavor.
-
Sugar: Granulated sugar adds sweetness; adjust based on your taste preference for the cherries.
-
Unsalted Butter: Use high-quality butter for that rich, melt-in-your-mouth texture; remember to let it soften before mixing.
-
Fresh Cherries (or Cherry Pie Filling): If using fresh cherries, choose ripe ones for maximum sweetness; canned filling works well too!
-
Eggs: Two large eggs for binding everything together; they also add moisture and richness.
-
Baking Powder: This helps the bars rise perfectly; ensure it’s fresh for the best results.
-
Vanilla Extract: A splash of vanilla enhances the flavors beautifully; use pure vanilla extract if possible. pink velvet cupcakes.
The full ingredients list, including measurements, is provided in the recipe card directly below.
Let’s Make it Together
Prepare Your Oven and Baking Dish: Preheat your oven to 350°F (175°C) while greasing a 9×13-inch baking dish with nonstick spray or butter. This ensures easy removal of those heavenly bars.
Create the Buttery Crust: In a large bowl, mix softened butter and sugar until creamy. Gradually add flour and baking powder until crumbly dough forms; this should smell buttery and divine.
Press the Dough into Place: Take about two-thirds of your dough mixture and press it evenly into the bottom of your prepared baking dish. It should look smooth but not overly compacted.
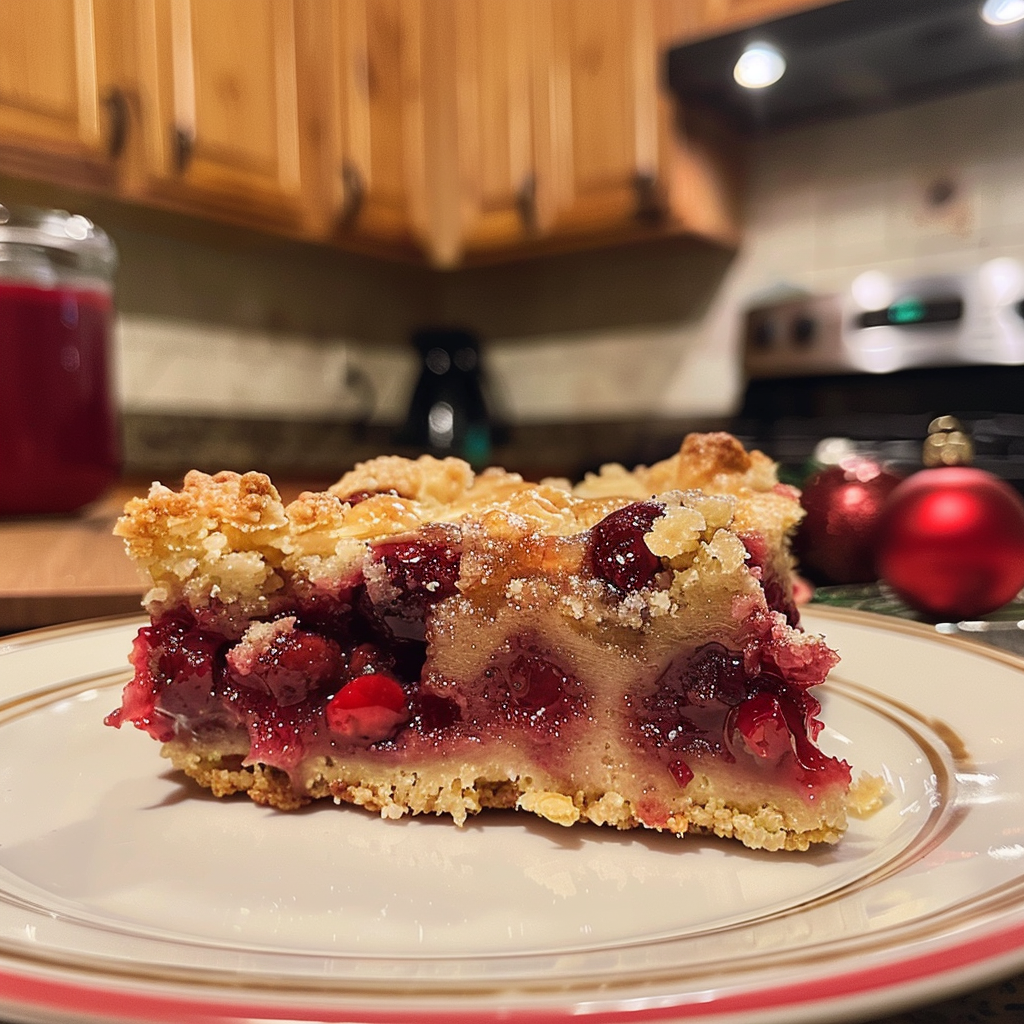
Add Your Cherry Layer: Pour your prepared cherries or cherry filling over the pressed dough layer. Spread it out evenly so every bite gets that delightful cherry goodness.
Add the Topping: Crumble the remaining dough over the cherry layer. Don’t worry if it’s not perfect; rustic is charming! This topping will bake into a golden crown.
Bake to Perfection!: Slide your baking dish into the oven and bake for 35-40 minutes or until lightly golden on top and bubbly around the edges. Trust me, you’ll know when it’s done by that sweet aroma filling your kitchen.
Let these Christmas Cherry Bars cool completely before cutting them into squares—if you can resist devouring them right away! Enjoy them at holiday gatherings or keep them all to yourself during cozy movie nights—you deserve it!
You Must Know
- Christmas Cherry Bars are not just delicious; they evoke the warmth of holiday gatherings
- The sweet aroma fills your kitchen, making everyone feel festive
- The vibrant red cherries add a pop of color, perfect for impressing your guests during the holiday season
Perfecting the Cooking Process
Start by preheating your oven to 350°F (175°C) before mixing ingredients. This ensures even baking and helps achieve that perfect golden crust.
Add Your Touch
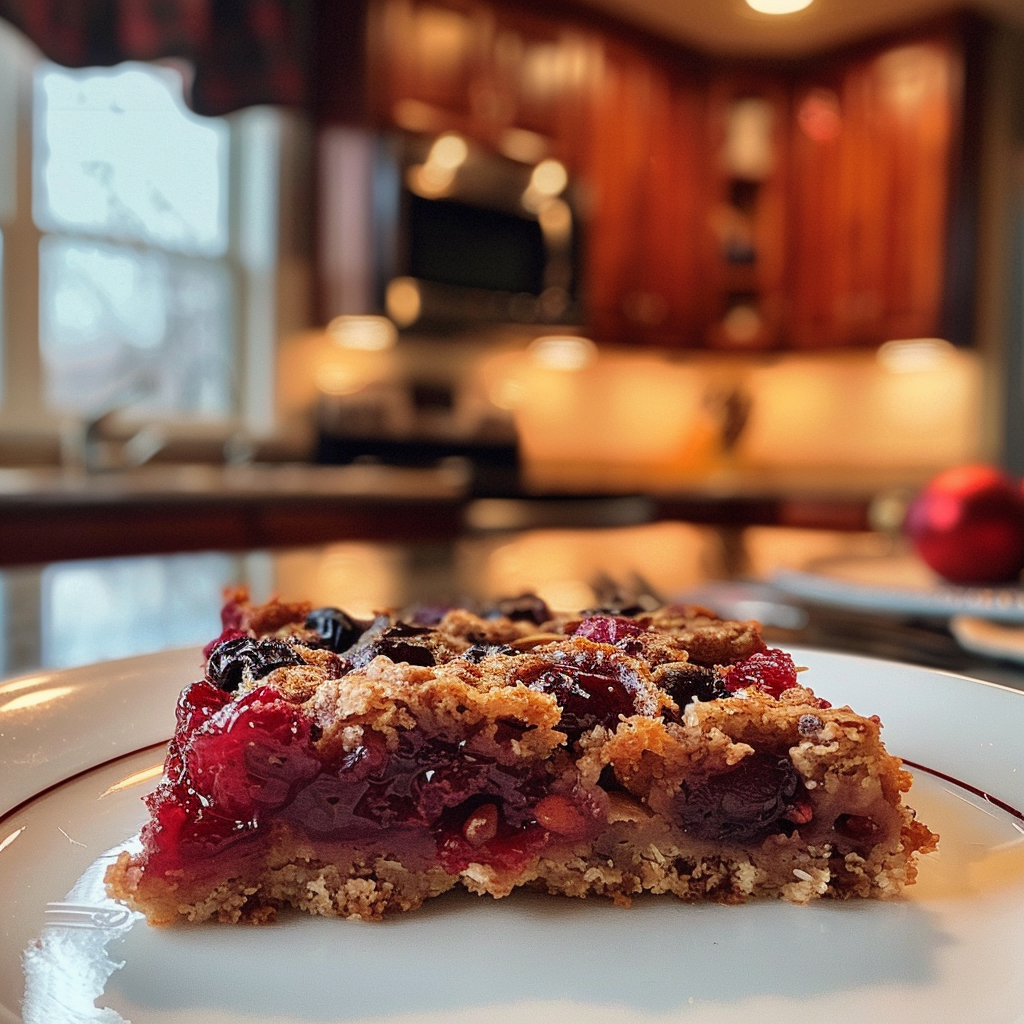
Feel free to swap cherries for cranberries or blueberries for a different flavor twist. You can also sprinkle some nuts on top for added crunch!
Storing & Reheating
Store leftover bars in an airtight container at room temperature for up to three days. To enjoy them warm, simply reheat in the oven for a few minutes.
Chef's Helpful Tips
- Ensure your butter is softened but not melted for smooth mixing
- Use fresh cherries when possible for maximum flavor impact
- A pinch of salt enhances sweetness beautifully, so don’t skip it!
The first time I baked these Christmas Cherry Bars, my family couldn’t stop raving about them. Their delight reminded me how food truly brings everyone together during the holidays.
FAQ
Can I use frozen cherries for Christmas Cherry Bars?
Yes, frozen cherries work well; just thaw and drain excess moisture beforehand.
How long do these bars last?
When stored properly, Christmas Cherry Bars can last up to three days at room temperature.
Can I make these bars gluten-free?
Absolutely! Substitute all-purpose flour with a gluten-free blend for a delicious alternative.

Christmas Cherry Bars
- Total Time: 50 minutes
- Yield: Approximately 12 servings 1x
Description
Indulge in the holiday spirit with these Christmas Cherry Bars, featuring a soft buttery crust topped with sweet, vibrant cherries. Perfect for gatherings or cozy nights in, these delightful bars are sure to become a family favorite. Their rich flavor and beautiful presentation make them a standout dessert on any festive table.
Ingredients
- 2 cups all-purpose flour
- 1 cup granulated sugar
- 1/2 cup unsalted butter, softened
- 2 cups fresh cherries (or cherry pie filling)
- 2 large eggs
- 1 tsp baking powder
- 1 tsp vanilla extract
Instructions
- Preheat your oven to 350°F (175°C) and grease a 9×13-inch baking dish.
- In a large bowl, mix softened butter and sugar until creamy. Gradually add flour, baking powder, and eggs until a crumbly dough forms.
- Press two-thirds of the dough into the bottom of the prepared baking dish.
- Spread cherries or cherry filling evenly over the dough.
- Crumble the remaining dough over the cherry layer.
- Bake for 35-40 minutes until golden brown on top and bubbly around the edges.
- Allow to cool completely before cutting into squares.
- Prep Time: 15 minutes
- Cook Time: 35 minutes
- Category: Dessert
- Method: Baking
- Cuisine: American
Nutrition
- Serving Size: 1 square (50g)
- Calories: 200
- Sugar: 16g
- Sodium: 50mg
- Fat: 9g
- Saturated Fat: 5g
- Unsaturated Fat: 4g
- Trans Fat: 0g
- Carbohydrates: 30g
- Fiber: 1g
- Protein: 2g
- Cholesterol: 40mg

Leave a Comment